When I first got into print on demand (POD), I had no idea postcards could be such a fun and profitable product—especially around the holidays. Families send them to loved ones, kids collect them, and shoppers on Etsy are always looking for cute, seasonal stationery. How to Make Personalized Postcards with Gelato (Beginner Friendly)
They’re also low-cost, lightweight, and beginner-friendly, making them a perfect first product to test if you’re just getting started.
In this post, I’ll walk you through exactly how I made my first set of holiday postcards with Gelato—and how you can create personalized postcards that stand out from the competition.
Affiliate Disclosure: This blog post may contain affiliate links. This means that if you click on a link and make a purchase, I may earn a small commission at no extra cost to you. I only recommend products and services that I personally use or believe will add value to my readers. Your support in purchasing through these links helps me keep this blog running and providing free content. Thank you for your support!
Step 1: Why Postcards Work for Beginners
- Low cost → You don’t need a big budget to start selling postcards.
- Simple design process → No advanced design skills required.
- Perfect for bundles → Shoppers love buying sets of 10 or 20 postcards to send to friends and family.
- Holiday bestsellers → Christmas, Halloween, Valentine’s Day, Mother’s Day… postcards work year-round.
- Niche Down: Focus on an Evergreen Niche and research what kinds of cards would serve them best! Weddings are a great starter niche for paper products, cards and even wall art!
👉 Beginner Tip: Start with seasonal designs—holiday products naturally get more search traffic and sales on Etsy.
Step 2: Design Your Postcards in Canva
- I opened Canva, typed “postcard” into the search bar, and browsed dozens of ready-made templates.
- For my first designs, I created:
- 🎃 A pumpkin-themed Halloween postcard.
- 🎄 A “Merry & Bright” postcard for Christmas.
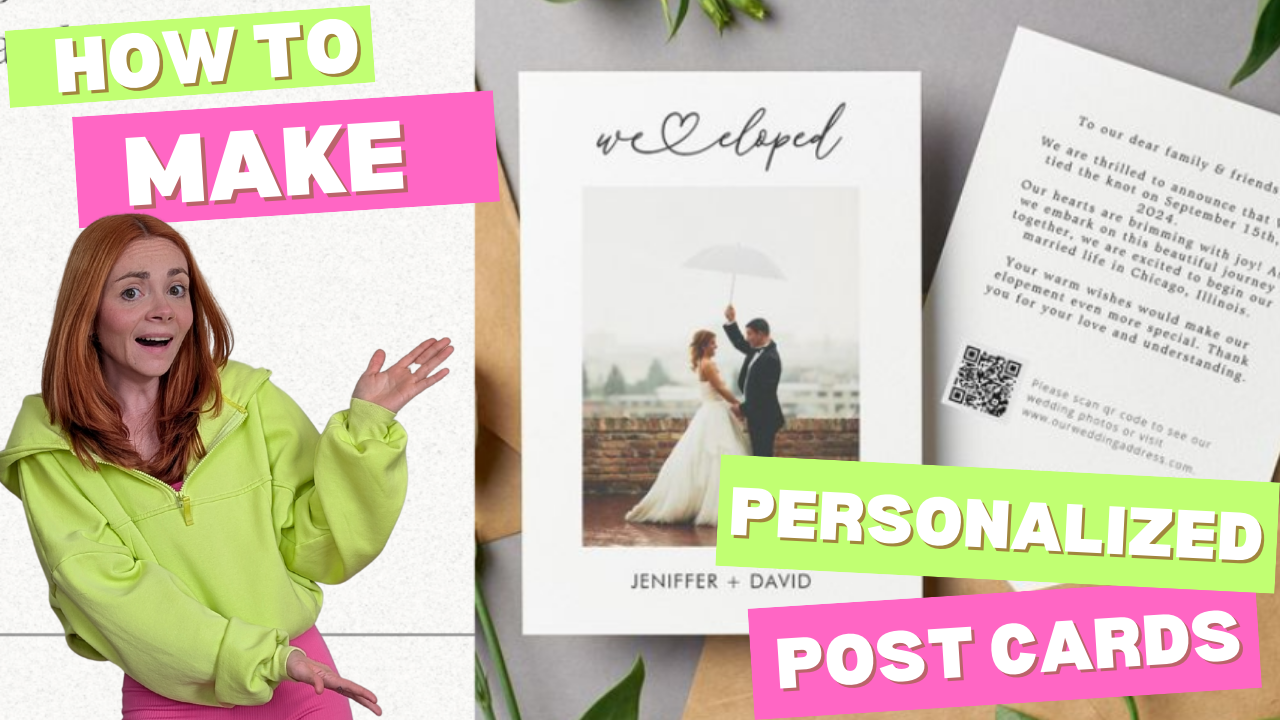
- a “We Eloped” Wedding Niche Announcement Card
- To make my shop stand out, I also tested coloring postcards—black-and-white outline designs kids could color in themselves.
👉 Beginner Tip: Use Gelato’s Personalization Studio, You can create the Designs DIRECTLY on Gelato, no back and forth with Canva. Simply Upload a sample photo, and add in personalized fields using Personalization Studio. Then your customer does the customizing all for you, and Gelato print’s and ships it! Personalization Studio has saved me HOURS when creating personalized designs!
Step 3: Add Personalization with Gelato’s Personalization Studio
This is where you can turn a basic postcard into a customized product people will pay more for.
- I uploaded my design into Gelato’s Personalization Studio.
- I added a text field on the back of the postcard where buyers could enter:
- Their family name (ex: “The Johnson Family”)
- A short holiday greeting (ex: “Wishing You Joy This Season!”)
- Gelato’s preview tool let me see how each customer’s personalization would look before publishing.
👉 Beginner Tip: Personalized products often get more sales + higher prices because they feel unique and gift-worthy.
Step 4: Upload to Gelato & Preview
- In Gelato, I selected “Postcards” from the product catalog.
- I uploaded my front + back designs, then double-checked that personalization was placed correctly.
- Gelato automatically generated professional postcard mockups that I could use in my Etsy listing (no need for my own product photography).
Step 5: Bundle & List on Etsy
- I recommend selling postcards in sets of 10 or 20. Shoppers are more likely to buy bundles, especially during the holidays.
- For Etsy SEO, I used keywords like:
- Christmas postcards
- Personalized holiday cards
- Halloween postcards
- Custom elopement announcements
- I uploaded Gelato’s mockups directly to Etsy for a polished look.
👉 Beginner Tip: Always include the word “personalized” in your Etsy title and tags. Shoppers specifically search for it!
Why I Trust Gelato for POD Postcards
- Professional paper quality → Thick, vibrant, and durable (no flimsy card stock here).
- Prints + ships worldwide → Global printing partners mean faster shipping for your customers.
- No inventory stress → You only pay for what sells. No leftover stock sitting in your closet.
- Built-in personalization → Gelato’s Personalization Studio makes offering custom designs easy.
Your Next Step
Holiday postcards are just the beginning. Once you see how easy it is, you can branch into other products like framed wall art, journals, or even embroidered sweatshirts.
If you want to skip the guesswork, my POD Launch Blueprint walks you step-by-step from your first design to your first sale (without the overwhelm).
Or, if you’re not ready for a full course yet, grab my free POD Starter Kit when you subscribe to my email list. It’s packed with beginner tips, checklists, and tools to help you start faster. How to Make Personalized Postcards with Gelato (Beginner Friendly)
👉 Sign up for Gelato here and start designing your first personalized postcards today.
👉 Subscribe here for my free POD Starter Kit.
That’s it—you’ve just created your first set of personalized holiday postcards. Simple, fun, and a perfect beginner-friendly product to launch this season! Wach the Full Tutorial on my Youtube!
