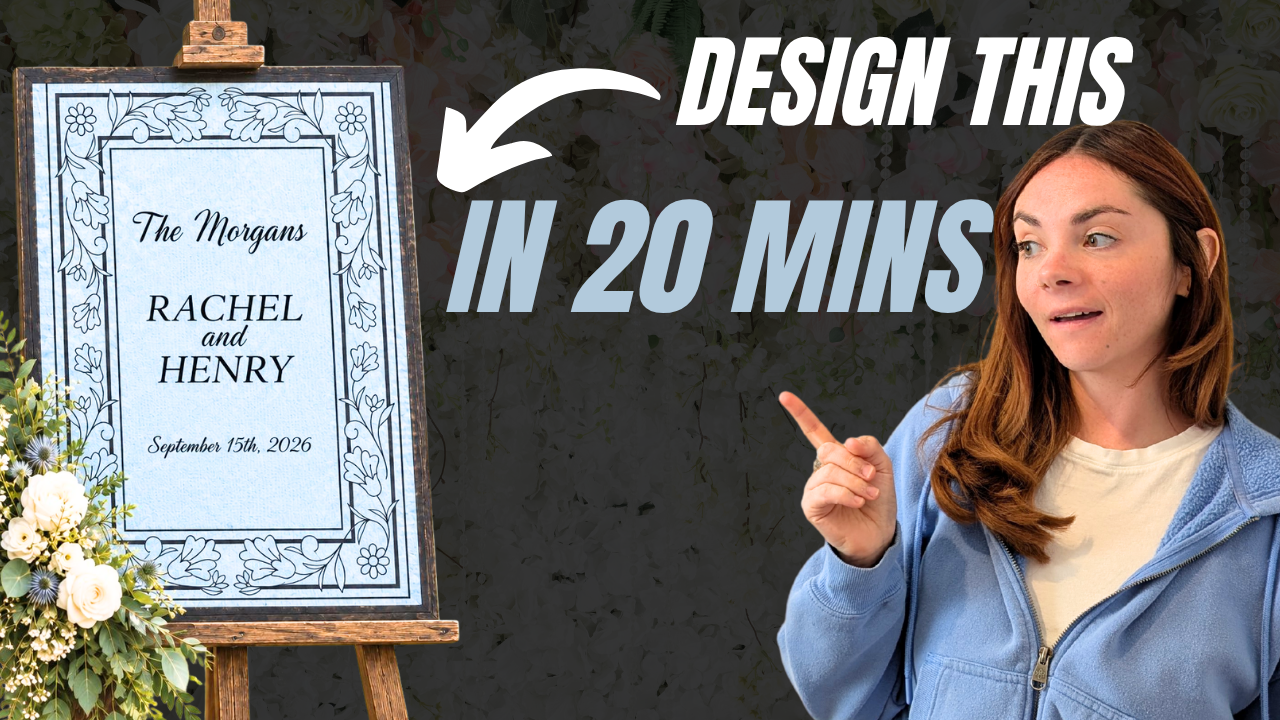
Stained glass has a timeless, romantic look, which is why it’s a favorite for wedding decor. The catch is that real stained glass takes specialized skills, tools, and a lot of time. A faux stained glass wedding sign gives you the same look digitally, and with print on demand you can sell it without ever touching a piece of glass.
This tutorial from Rebel Mama | Print On Demand shows How to Make a Faux Stained Glass Wedding Sign With Canva and Gelato (7 Steps) and turn it into wall art with Gelato. Watch the video below, then use the seven steps as a quick reference.
1. Start With Canva Elements That Mimic Stained Glass
You don’t need illustration skills to get this look. The technique begins in Canva’s element library, where you search for and combine shapes, borders, and decorative graphics to create the appearance of leaded glass panels. Layering and combining elements is what sells the effect, so experiment with different pieces before settling on a base. The creator links the exact elements used in the video description. Because the finished piece is a flat digital design, it is also easy to recolor for different weddings and prints cleanly as wall art.
2. Build Your Wedding Sign Layout
Once the stained glass base is ready, design the sign around it. Decide where the couple’s names, the wedding date, and any short message will sit. Leave enough breathing room around the text so the glass effect stays the focal point. A centered, symmetrical layout works especially well for traditional wedding signs and entryway decor.
3. Choose Fonts, Colors, and Decorative Elements That Work Together
A cohesive design looks more professional and sells better. Keep your color palette limited and pull your text colors from the glass tones. Pair one expressive script font for names with a simple, readable font for dates and details. Add florals or other decorative accents sparingly so they support the design instead of competing with it.
4. Prepare Your Design for Print
Before you upload anything, proofread names and dates carefully, since personalization errors are costly. Keep important text and graphics away from the edges, and follow the file requirements for the specific product you plan to sell. Taking a few minutes to check your design now prevents reprints and unhappy customers later. It also helps to preview the design at a small size, since that shows whether the text stays readable.
5. Upload Your Design to Gelato and Create Your Wall Art Product
Gelato is a print on demand platform, which means products are produced after an order is placed. That keeps your upfront costs low because you never hold inventory. Upload your finished Canva design, choose your wall art product, and set up the listing details. The video walks through this process from start to finish.
6. Turn One Design Concept Into More Wedding Products
A single stained glass design can become several products and listings. Once you have a strong design, consider how it could be adapted for other wedding-related items sold in the same shop. Building a small collection around one concept makes your shop feel consistent and gives shoppers more reasons to browse.
7. Reuse the Technique for New Themes and Occasions
Once you understand the basic method, you can repeat it endlessly. Swap in different wedding themes, color palettes, names, dates, and venues, or adapt the style for other special occasions. Personalized, giftable designs tend to stand out from the generic artwork common in print on demand.
Bonus: Optimize Your Etsy Listings
If you sell on Etsy, strong search optimization matters as much as the design itself. The video mentions RankHero for researching and writing SEO-optimized titles, descriptions, and tags, along with Everbee’s Etsy fee calculator for checking your profit margins before you price your sign.
Final Thoughts
A faux stained glass wedding sign is a creative, low-risk way to offer something personalized in a print on demand shop. With Canva for design and Gelato for production, you can go from idea to finished wall art without special equipment or art skills. Watch the full tutorial above, and let the creator know in the comments which Gelato product you’d like to see next.
Leave a Reply