I’ll be honest—embroidered sweatshirts intimidated me at first. I thought embroidery required special machines, complicated digitizing software, and hours of tweaking thread settings. How to Make Embroidered Sweatshirts with Gelato (Beginner Friendly)
But once I tried Gelato’s embroidery options inside their Design Studio, I realized it’s actually one of the easiest and most profitable print on demand (POD) products you can add to your shop.
Here’s how I designed my very first embroidered holiday sweatshirt—step by step. And here 7 Things you need to know BEFORE starting POD…
Step 1: Plan a Simple Design
Embroidery is different from printing—what looks amazing on paper can get messy when stitched. That’s why simple designs almost always look best. Keeps the fonts and the designs SIMPLE!
For my first sweatshirt, I brainstormed a few niche-themed and etsy trending ideas:
- “Spooky Vibes” for Halloween
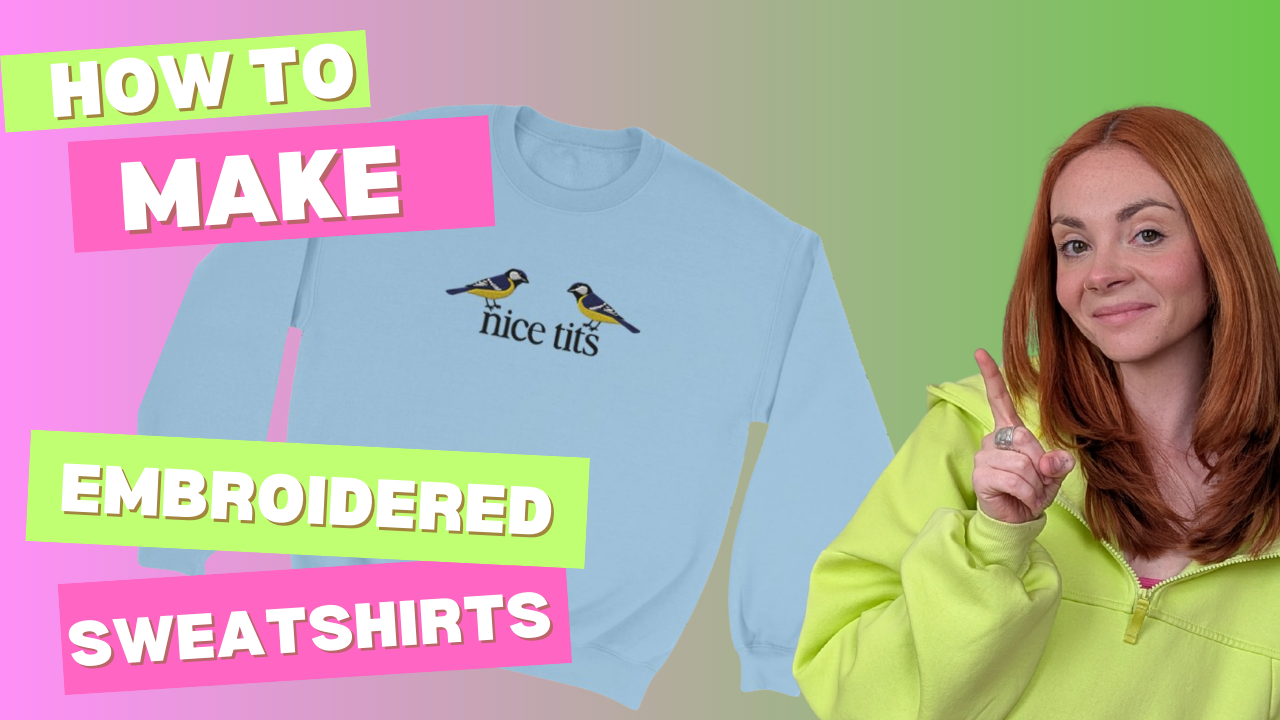
- “Nice Tits” for a Bird Watcher
- a funny saying like “Born to Yap”
👉 Beginner Tip: Stick to short text phrases or small icons. Avoid busy graphics or gradients—they don’t translate well to thread.
👉 Beginner Tip 2: Limit yourself to 1–3 thread colors. Too many colors can make embroidery look cluttered and drive up production costs.
Step 2: Create Your Design in Gelato’s Personalization Studio
Instead of uploading a complicated file, I opened Gelato’s Personalization Studio and created my design right inside the tool.
Here’s exactly what I did:
- Selected “Crewneck Sweatshirt” as my product base.
- Typed out the phrase “Nice Tits” in a very plain serif font.
- Chose black for the text and previewed it on a Carolina Blue sweatshirt.
- Moved the placement to the center chest embroidery position (a classic look).
The preview looked so good, I instantly saved it to my product catalog. & bought myself a sample 🙂 You can grab your first Gelato sample order for 50% off when you create a new account (I may or may not join with a new email just to grab the 50% off discount) How to Make Embroidered Sweatshirts with Gelato (Beginner Friendly)
👉 Beginner Tip: Use the preview tool to see exactly how your embroidery will stitch out before you publish it.

Step 3: Add Personalization Options
This is where you can really stand out. Instead of only offering a fixed phrase, I added a personalization option:
- Buyers could enter their last name (like “The Johnsons”) or a custom word/phrase (like “Cozy & Bright”).
- Gelato’s Personalization Studio automatically updates the preview so buyers can see their name or text stitched onto the sweatshirt before ordering.
👉 Beginner Tip: Personalization = higher value. Customers are happy to pay more for custom embroidered gifts.
Step 4: Choose Your Sweatshirt Style
Gelato offers multiple sweatshirt and hoodie options in different colors and fits. For my first product, I chose a classic unisex crewneck sweatshirt—cozy, timeless, and works for everyone.
Other great options include:
- Hoodies (great for Christmas gifts)
- Premium sweatshirts with softer fabric blends
- Kids’ sizes for family matching sets
Step 5: Publish to Etsy as a Premium Gift
Once my design was finalized, I synced it directly to Etsy with one click.
When writing my listing, I made sure to position embroidered sweatshirts as a premium, giftable product. Here’s how I structured my listing:
- Title keywords: “Personalized Embroidered Christmas Sweatshirt, Custom Holiday Gift, Cozy Crewneck”
- Description highlights: Soft material, luxury embroidery, and made-to-order personalization.
- Mockups: I used Gelato’s professional lifestyle mockups so customers could imagine wearing or gifting the sweatshirt.
👉 Beginner Tip: Always highlight “gift-worthy” in your product description. Holiday shoppers are ready to pay more for premium embroidered items.
Why Gelato Is My Go-To for Embroidery
- Embroidery built-in → No need for third-party digitizing software. Gelato converts your design for you.
- Global fulfillment → Orders ship from local facilities near your customers, which means faster delivery.
- Top-notch quality control → Every embroidered sample I’ve received has been flawless.
- Personalization Studio → Let customers make the product their own with custom names, words, or designs.
Ready to Try Embroidery Yourself?
If embroidered sweatshirts felt scary to you (like they did for me), trust me—Gelato makes it simple. You can design, personalize, and publish your first sweatshirt in under an hour.
And if you want the step-by-step strategy to launch your POD shop and actually make sales, grab my POD Launch Blueprint.
Not quite ready for a full course? No worries—subscribe to my email list and I’ll send you my POD Starter Kit for free. It’s packed with beginner-friendly resources, tips, and tools to get you moving. How to Make Embroidered Sweatshirts with Gelato (Beginner Friendly)
👉 Sign up for Gelato here and design your first embroidered sweatshirt today.
👉 Subscribe here to grab your free POD Starter Kit.
✨ That’s it—you’ve just created a personalized embroidered sweatshirt that’s gift-worthy, profitable, and totally beginner-friendly.